Snowflake#
You can access cuDF and cuML in Snowflake Notebooks in Workspaces (Jupyter compatible)
or in the Snowflake Notebooks on Container Runtime for ML.
You can also install RAPIDS on Snowflake via Snowpark Container Services.
Snowflake Notebooks in Workspaces (Jupyter compatible)#
Snowflake Notebooks in Workspaces provide a Jupyter-compatible environment. The environment is pre-configured for AI/ML development with fully-managed access to GPUs, and it has cuDF and cuML built-in.
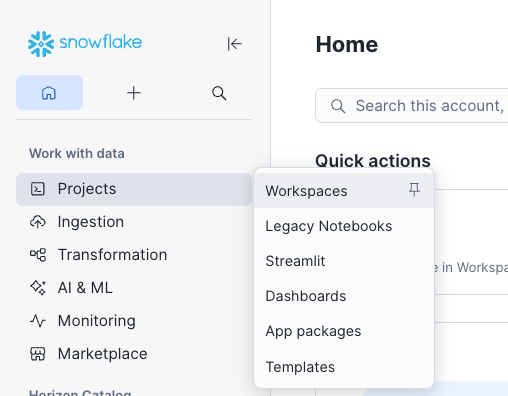
In the left panel, go to Projects → Workspaces.
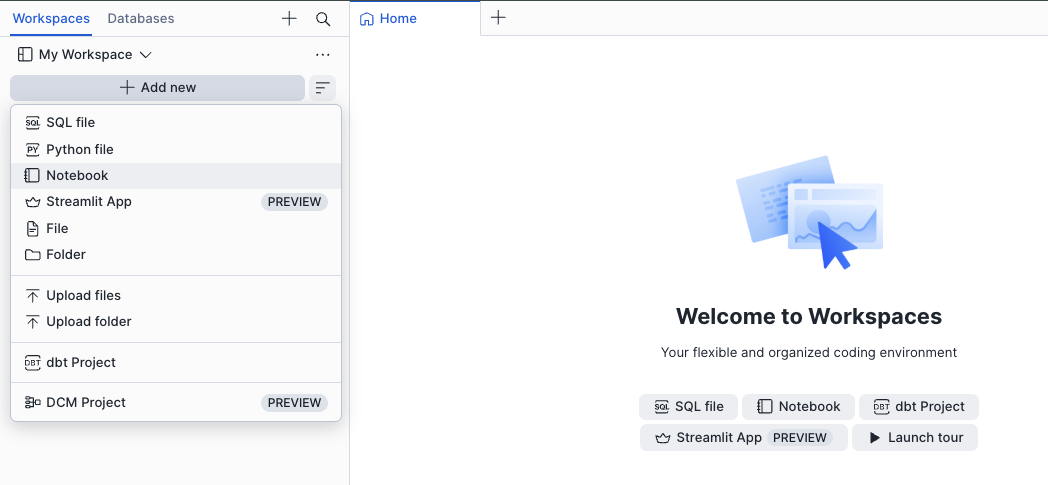
Inside your workspace, click + Add new and select Notebook to create a new notebook, or choose Upload files to import an existing
.ipynbfile.
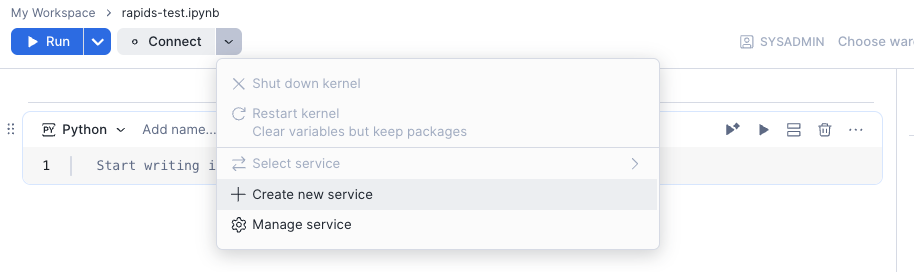
Once your notebook is open, click the Connect dropdown and select Create new service to attach a compute service that will run your notebook.
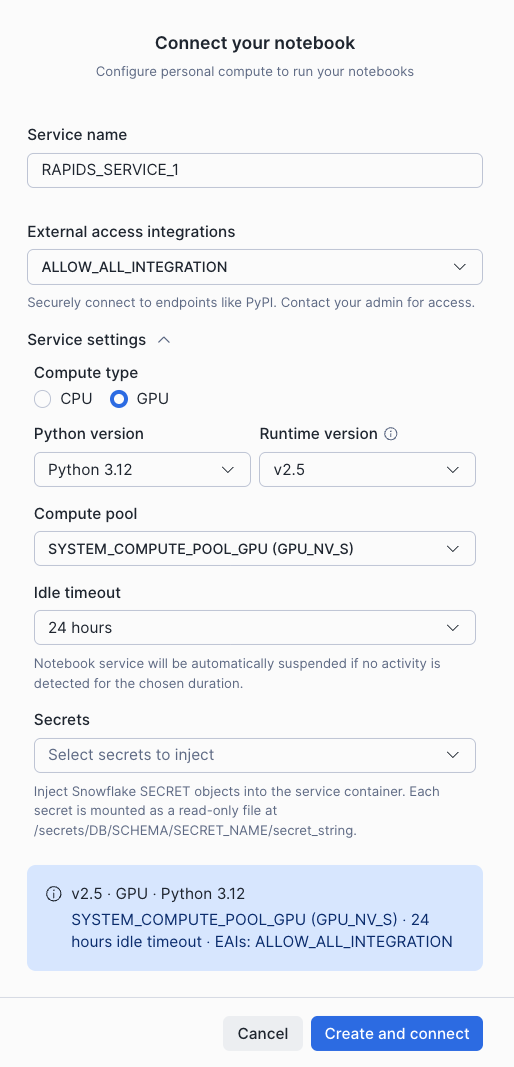
In the Connect your notebook dialog, give your service a name, set the Compute type to GPU, select a GPU compute pool (e.g.
SYSTEM_COMPUTE_POOL_GPU (GPU_NV_S)), and choose an External access integration (e.g.ALLOW_ALL_INTEGRATION) to allow package installation from PyPI and general internet access. Click Create and connect when ready.
You can import
cuDFand orcuMLand start using the notebook.